BoxTrack App 1.0
The BoxTrack container tracking app simplifies container tracking by providing real-time visibility into your shipments from origin to destination. This guide will walk you through how to use the BoxTrack application to track shipments and organize data effectively.
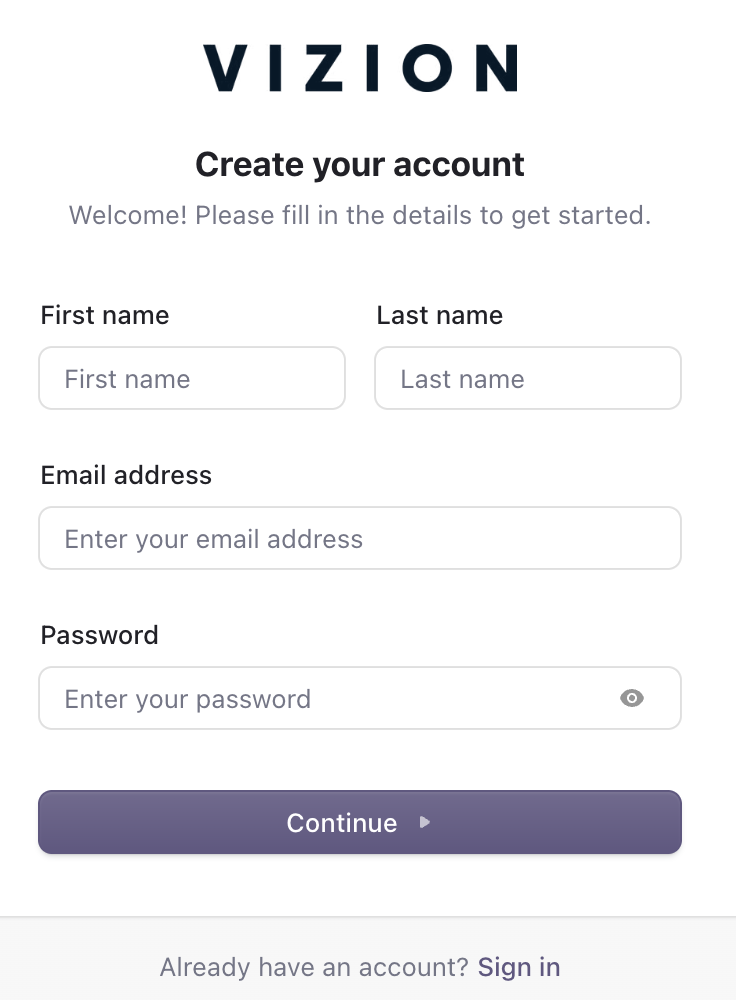
Creating an account and logging in
Before you can start tracking shipments, you’ll need to create an account and log into the BoxTrack platform.
- Go to the BoxTrack login page: https://accounts.app.vizionapi.com/sign-up.
- Click ‘Sign Up’ if you don’t already have an account.
- Fill in the required information.
- Name
- Work email (must be business email address)
- Password (must have 1 uppercase letter, 1 special character, and a minimum of 8 characters total)
- Click ‘Continue’.
- You will be directed to the Tracking Dashboard.
Getting started with BoxTrack
Tracking shipments in BoxTrack is easy and can be done in two ways:
- Tracking a single container (container ID only or container ID + master bill of lading)
- Bulk import tracking (uploading more than one container via CSV file)
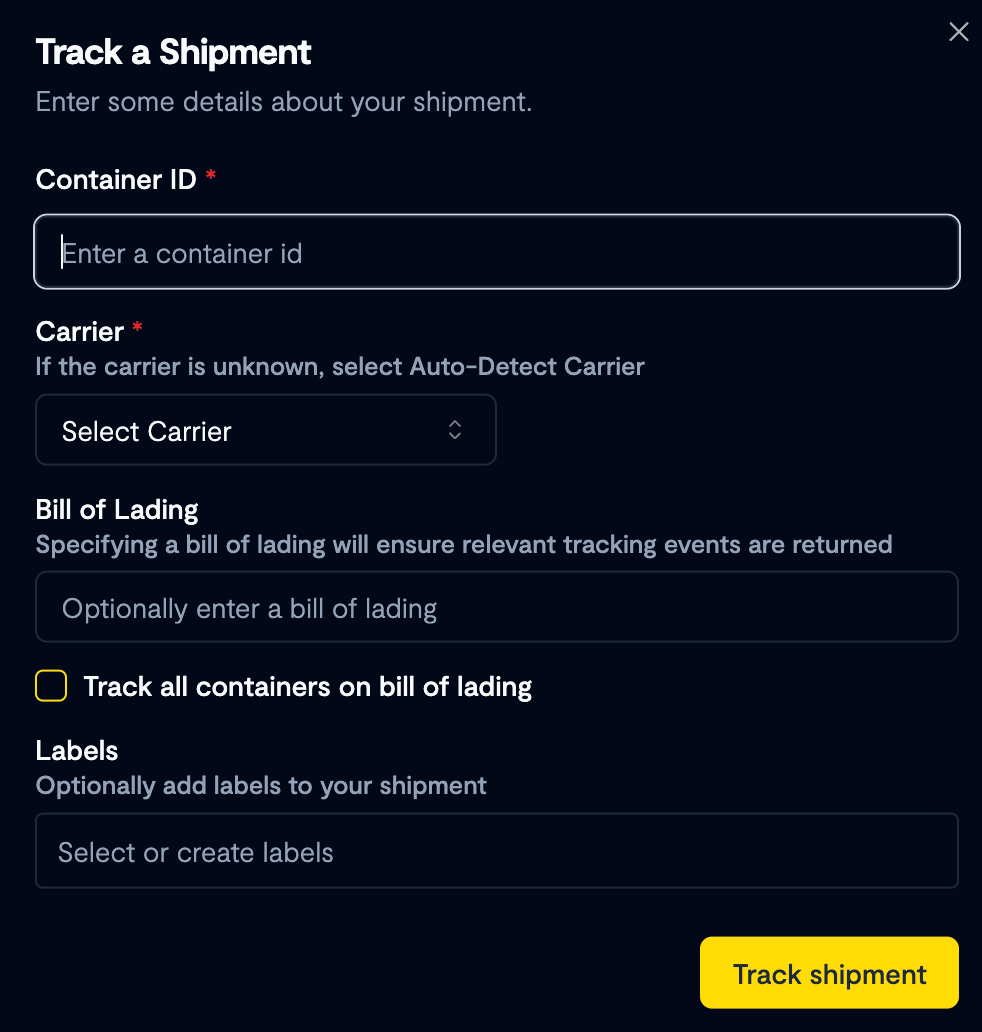
Tracking with a Container ID only:
- Click ‘Track Shipment’ from the dashboard.
- Enter the container number in the correct format (e.g. CSNU0001111).
- Select the carrier (if known).
- If the carrier is unknown, use the auto carrier identification feature, which will automatically match your container to the correct carrier.
Tracking with Container ID + Master Bill of Lading (BOL):
- Click ‘Track Shipment’ from the dashboard.
- Enter both the Container ID and the Master BOL.
- The Master BOL is not required to track an active container journey (if a master BOL is included, the tracking system will ensure that the journey provided aligns with the journey associated with the bill).
- You can also select to ‘Track all containers on master BOL’. If selected, this will return tracking details for each container listed on the bill.
Tracking via Bulk Upload:
- Click the down arrow next to ‘Track Shipment’ from the dashboard.
- Click ‘Import Containers’.
- Upload your CSV file and click ‘Upload’.
- A sample template is available for download on the bulk upload feature.
OPTIONAL - Adding Labels:
Labels can be assigned to shipments for better custom organization. These labels are free-text and can be used to categorize shipments by priority, region, customer, or any other internal classification.
Example Use Cases for Labels:
- Urgent - Track shipments that require priority handling.
- Europe Imports - Group all shipments destined for European ports.
- At risk - Track shipments at risk for additional port fees.
Demo usage of BoxTrackIt is currently possible to test BoxTrack before subscribing. While in demo mode, BoxTrack is limited to a lifetime total of 10 tracked containers.
Tracking Dashboard overview
Once you have entered a container number and clicked ‘Track Shipment’, you will be redirected to the Tracking Dashboard. This dashboard provides a detailed overview of your shipment’s individual journey(s).
Features in the Tracking Dashboard:
- Live Map Tracking: Displays the shipments journey from port of origin to port of destination.
- Shipment Location Details: Origin Port, Destination Port, Inland Origin and Inland Destination
- Individual Shipment Milestones: Standardized tracking milestones covering the entire container journey via sea and rail(e.g. Loaded on vessel at origin port)
- Downloadable Payload Data: Enables users to export tracking data, shipment details, and milestone history for integration into internal systems, reporting, or further analysis.
A full list of standardized tracking milestones can be found here. Each milestone represents a key event in the container journey. Within each event, additional information is included:
- Event Location: The specific location the milestone was recorded
- Vessel Information: Vessel Name, IMO (International Maritime Organization) number, and MMSI (Maritime Mobile Service Identity) number.
- Vizion Data Source: Identifies the data source for each milestone.
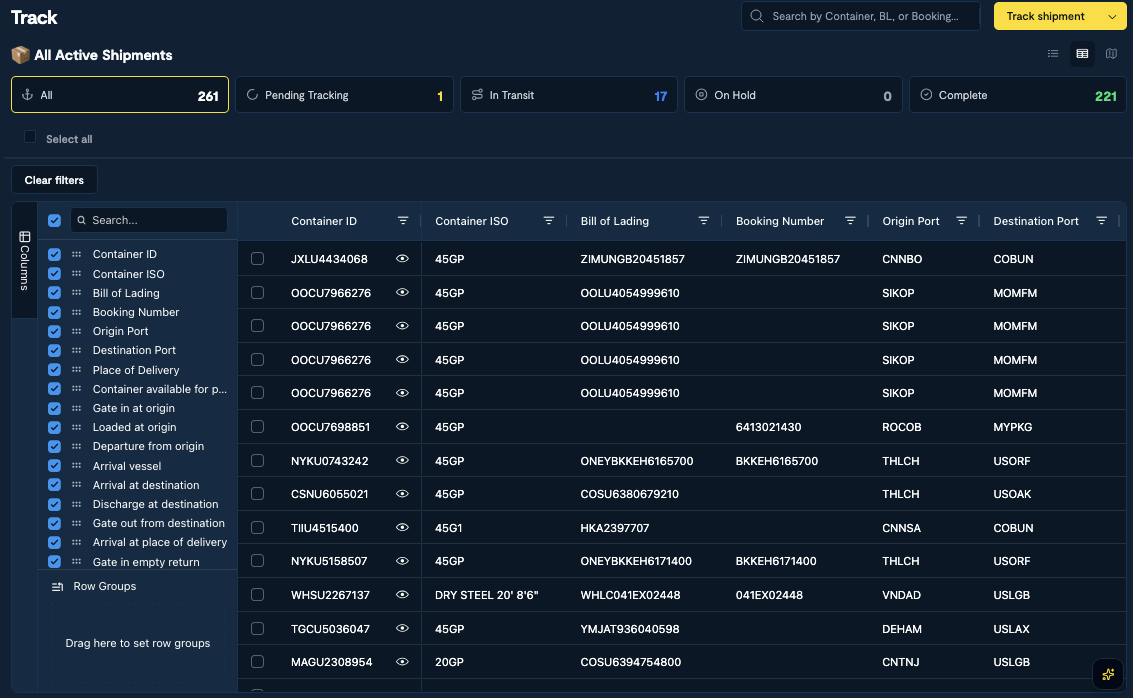
Shipments Dashboard overview
The Shipments Dashboard is your centralized view of all active shipments. It allows you to efficiently track, sort, filter, and manage shipments according to your workflow preference. The dashboard also allows you to export your shipment details to further analyze trends or generate reports.
Features in the Shipments Dashboard:
- Filtering Shipments - Users can apply advanced filters to refine their shipment list using a variety of conditions. Available filter options include:
- Contains - Show results that include a specific value (e.g. all shipments containing Destination Port as USNYC).
- Does not contain - Excludes results that contain a specific value.
- Equals - Show exact matches (e.g. shipments where the arrival at destination port is 1/1/2025)
- Does not equal - Exclude exact matches.
- Begins with - Show shipments where a field starts with a specific value (e.g. container numbers starting in COSU)
- Ends with - Show shipments where a field ends with a specific value (e.g. bill of lading number ends in 0000)
- Blank - Filter for empty values (e.g. shipments missing an arrival date)
- Not blank - Show only shipments with data in a particular field.
- Before - Show only shipments before a specific date.
- After - Show only shipments after a specific date.
- Between - Show only shipments between a selected time period.
Example Use Cases for Sorting Shipments:
- Find all shipments from a specific carrier by filtering the Container ID column using the ‘Contains’ option and entering the carrier code.
- Identify shipments with an upcoming arrival by applying the ‘Between” filter and entering dates of your choosing.
Sorting Shipments - Users can sort their shipments by clicking on any column header. Sorting helps quickly identify shipments that require immediate attention. Sorting options include.
- Alphabetical or Numerical Order (Container ID, Bill of Lading, etc.)
- Chronological Order (Estimated Arrival date, Free Time to Expire date, etc.)
Row Groupings - Users can group shipments into specific categories based on their operational needs. Grouping shipments allows for a clearer overview of specific categories, making it easier to track priority shipments, carrier performance, or trends in the data. Ways to create row groupings:
| Field | Description |
|---|---|
| Container ID | Unique container number (e.g. CSNU0001111). |
| Container ISO | Container type classification code. |
| Bill of Lading | Master BOL associated with the shipment. |
| Origin Port | Departure port location. |
| Destination Port | Arrival port location. |
| Place of Delivery | Final destination of the container. |
| Container Available for Pickup | The date that the container is available for pickup at the destination port. |
| Gate-In at Origin | The date that the container enters the terminal at origin port. |
| Loaded at Origin | The date that the container is loaded onto the vessel at origin port. |
| Departure from Origin | The date that the container departs from the origin. |
| Arrival Vessel | The vessel name carrying the container. |
| Arrival at Destination | The date that the vessel arrives at the destination port. |
| Discharge at Destination | The date that the container is unloaded from the vessel at destination port. |
| Gate-Out from Destination | The date that the container leaves the terminal at the destination port. |
| Arrival at Place of Delivery | The date that the container reaches the consignees location. |
| Gate-In Empty Return | The date that the empty container is returned to the depot. |
| Free Time to Expire | The date of the last day before demurrage fees apply. |
| Labels (Optional) | Custom labels to organize shipments. |
Column filters help you focus only on the most relevant shipments at any given time. If any of these data points are not applicable to you, you can choose to deselect the columns so they will not appear on your dashboard.
Saving Dashboards for Quick Access:
Dashboards let you organize shipments into named, persistent views that you can return to at any time.
There are two types of dashboards:
- Filter Based — automatically includes any shipment matching the criteria you define (port of loading, port of discharge, arrival/departure date ranges, or labels). The shipment list updates dynamically as data changes.
- Shipment List Based — a manually curated list. Shipments are added explicitly using the "Add to Dashboard" option, giving you precise control over exactly which containers appear.
How to create a dashboard:
- Click New dashboard in the sidebar.
- Select a dashboard type: Filter Based or Shipment List Based.
- Enter a dashboard name.
- Optionally assign labels to associate the dashboard with specific shipment categories.
- For Filter Based dashboards, configure any combination of: Port of Loading, Port of Discharge, Arrival at POD (preset ranges like "Next 7 days" or a custom date range), Departure from POL
- Click Save dashboard. It will appear in the sidebar for quick access.
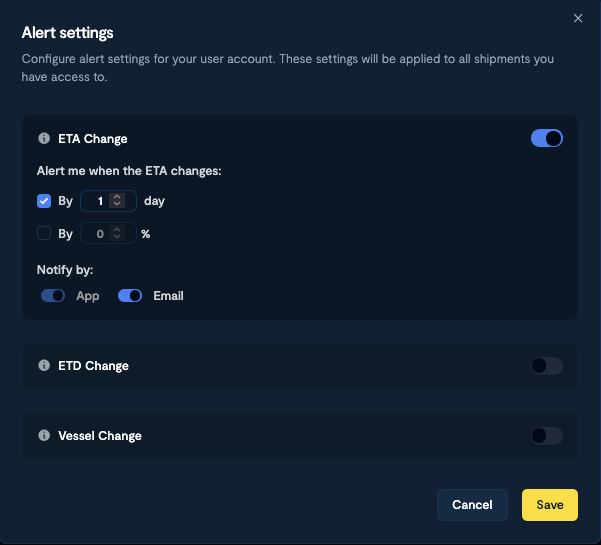
Exception Alerts
Configure alert preferences for shipment tracking changes. These settings apply to all shipments accessible in your account.
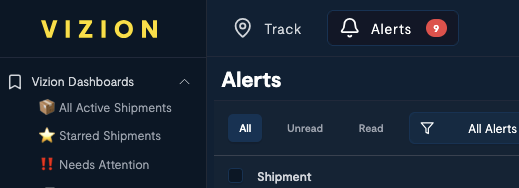
In Alert settings, you can configure alerts for ETA changes by specifying a minimum day or percentage change needed to trigger a notification, and choose to receive alerts via the app or email. Additionally, you can toggle alerts for ETD changes and vessel changes.
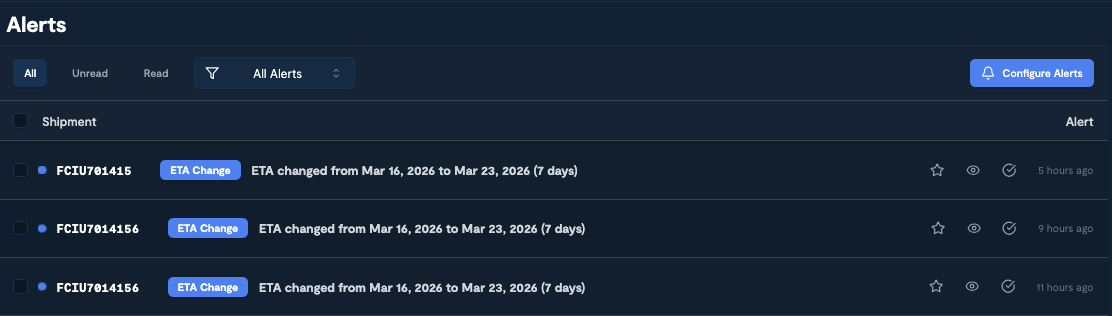
View alerts in the app:
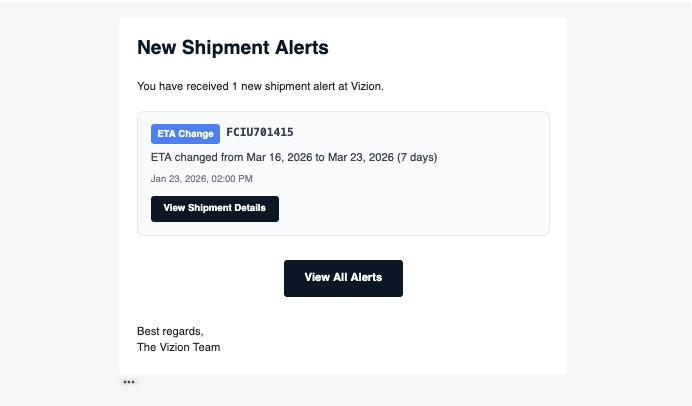
Or receive them via email:
Additional resources and support
BoxTrack is designed to provide comprehensive ocean shipment visibility across global supply chains. Below are additional resources to enhance your tracking experience:
- Standardized Shipment Milestones: View here
- Supported Carriers: View here
- Supported Ports + Terminals: View here
To learn more about the BoxTrack application or if you need additional resources, please reach out to our team at [email protected].
Updated 1 day ago